- The methods described here are illustrated in the following University of Minnesota Instructional Poster “Wrapping a Colony for a Northern Winter” Download a .pdf here.
Insulating colonies for winter can be worth the cost and effort in cold climates by insreasing winter survival. Here is one method to prepare colonies for winter:
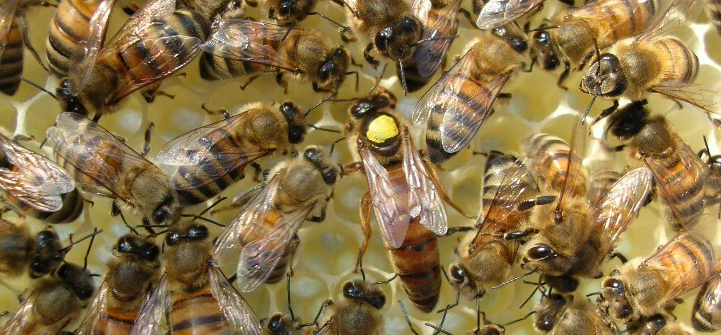
1. The first step is to evaluate the colony in September for its wintering ability. It should have a young prolific queen, enough honey stores (75-95 lbs.), large bee population(10+ frames of bees) and few mites. Feed syrup medicated for Nosema.

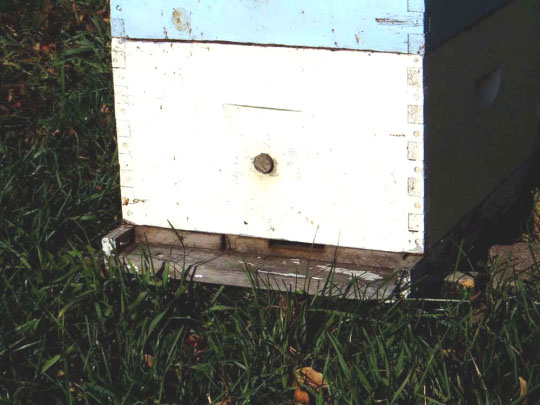
2. The colony should be in 3 deep hive bodies with most of the honey toward the top. The holes in the bottom two boxes should be closed.

3. The hole in the top box should be open. If you do not have a hole for an upper entrance you should drill one now. Make it below the handle.
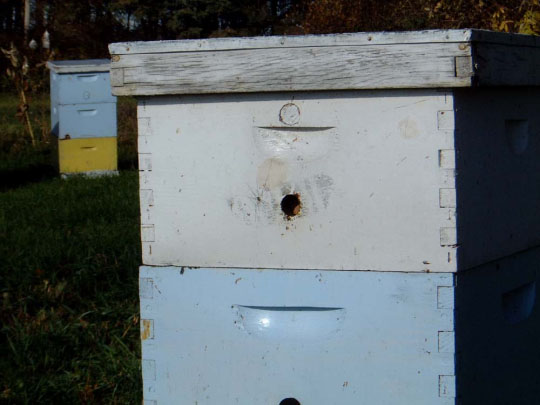
4. The entrance reducer should be placed with the 3” space facing up. 1. The first step is to evaluate the colony in September for its wintering ability. It should have a young prolific queen, enough honey stores (75-95 lbs.), large bee population(10+ frames of bees) and few mites. Feed syrup medicated for Nosema.
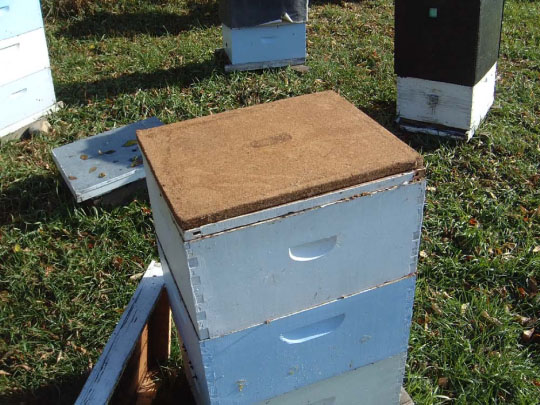
5. Soon after the first of November start wrapping by placing a moisture board on
top of the inner cover. This is a porous sheeting that will absorb moisture from the hive and evaporate to the outside. Shown is 3/4” Bild Rite® sheeting.
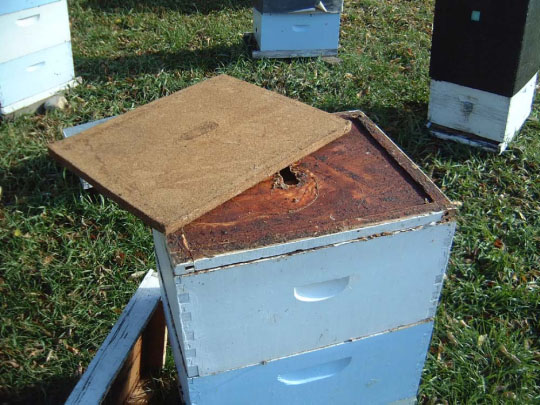
6. The moisture board is very important. Shivering bees in the winter cluster produce a lot of metabolic water that must not freeze inside the colony. Do not use one that has a moisture barrier. If you do not have access to this sheeting a stack of newspaper 1” thick can work. Do not use Styrofoam type material.
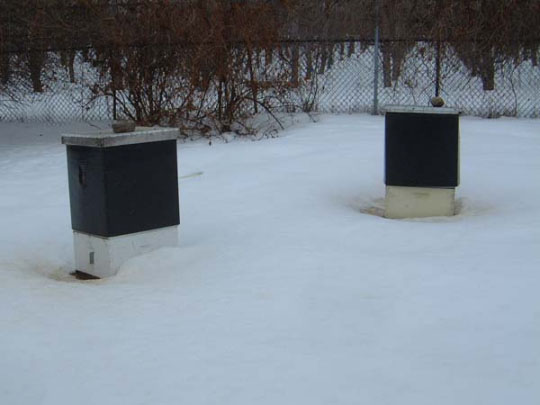
7. Place a beehive winter wrap over the colony. Note that one of the flaps is folded inside. This will allow air to pass over the moisture board to evaporate the moisture.
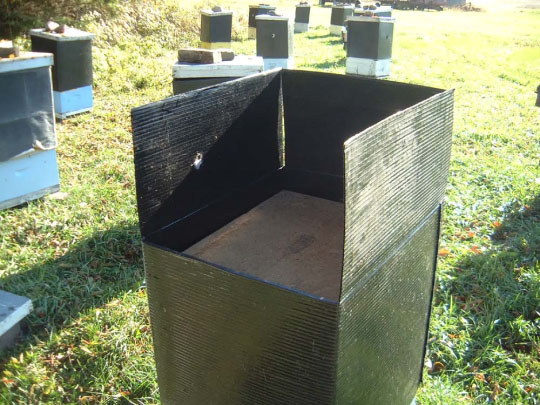
8. Cut a hole in the winter cover to correspond with the top entrance hole.

9. Put the cover on the top but be sure to leave it crooked so the air can get at the moisture board to evaporate. Put a rock on to prevent the wind from blowing it off.
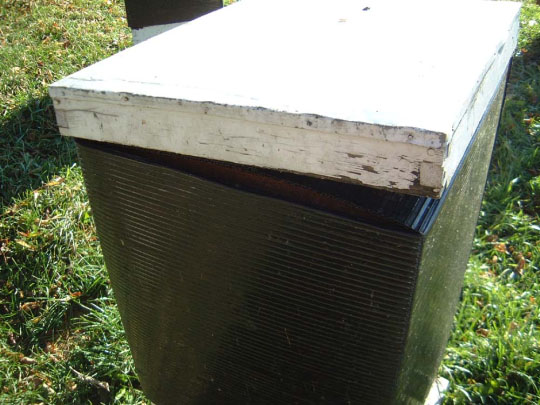
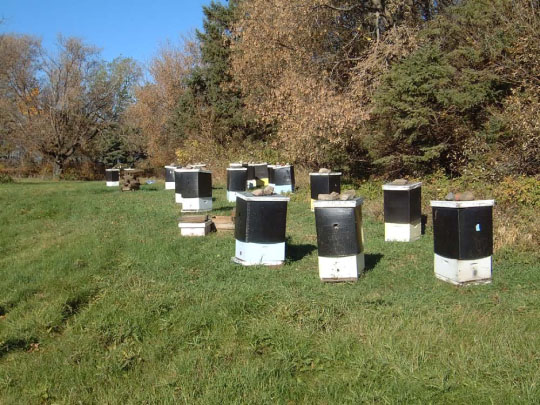
10. This is the colony ready for winter. You should not have to visit it until March.
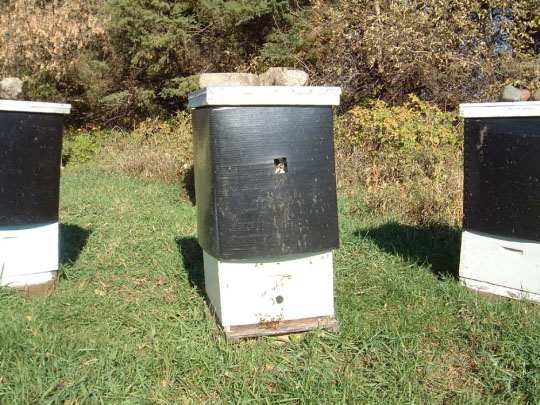
11. Optional. You can make a little landing board and nail it below the hole. This
also keeps the cover tight against the box.
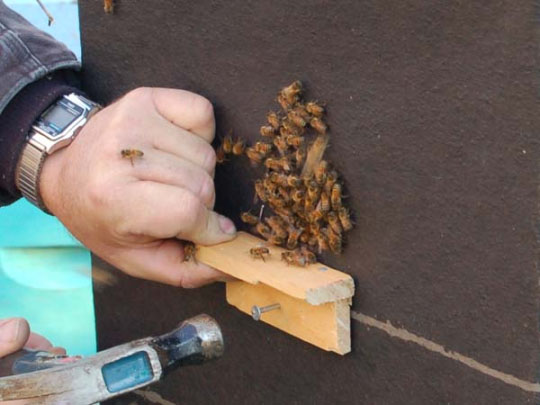
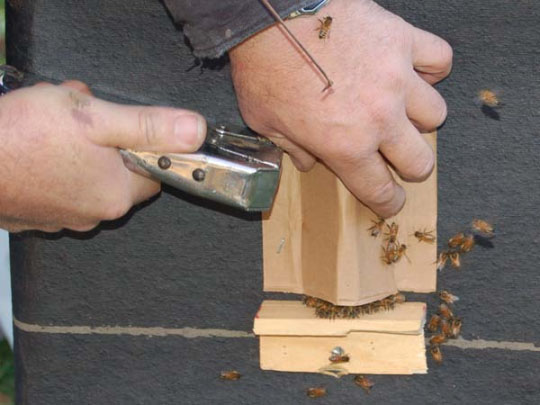
12. Optional. You can also make a little wind deflector and staple over the hole.
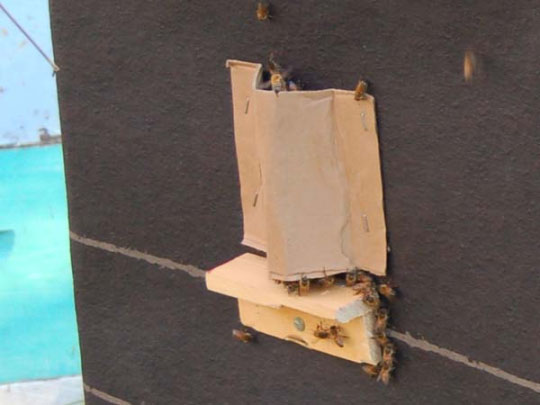
This can stop some of the wind from blowing in the entrance. Be sure to put it up from the landing 1/2” to let the bees enter.
13. Entrance is ready for winter
14. For details on mites and diseases see Honey Bee Diseases and Pests manual
or Healthy Bees web course. www.extension.umn.edu/.honeybees
15. For more information on managing honey bees see our manual Beekeeping
in Northern Climates. www.extension.umn.edu/.honeybees
Source:
University of Minnesota Instructional Poster #163, Gary S. Reuter and Marla Spivak, Department of Entomology
Download the original Wrapping a Colony for a Northern Winter.pdf here.
